- CONTACT US | 7941 CANOGA AVE., CANOGA PARK |
- +1 (818) 888-8065
- +1 (818) 634-4222

Carpet installation can be a daunting task, but with the right tools and techniques, it can be a breeze. Whether you’re a seasoned DIYer or a first-timer, this guide will help you understand the basics of Carpet Installation and provide you with helpful tips and tricks to ensure a successful installation.
Measure your room accurately
Before you start any Carpet Installation, it’s essential to measure your room correctly to ensure you purchase the right amount of carpet. Be sure to measure the length and width of each room, and don’t forget to factor in any closets or alcoves.
Choose the right tools
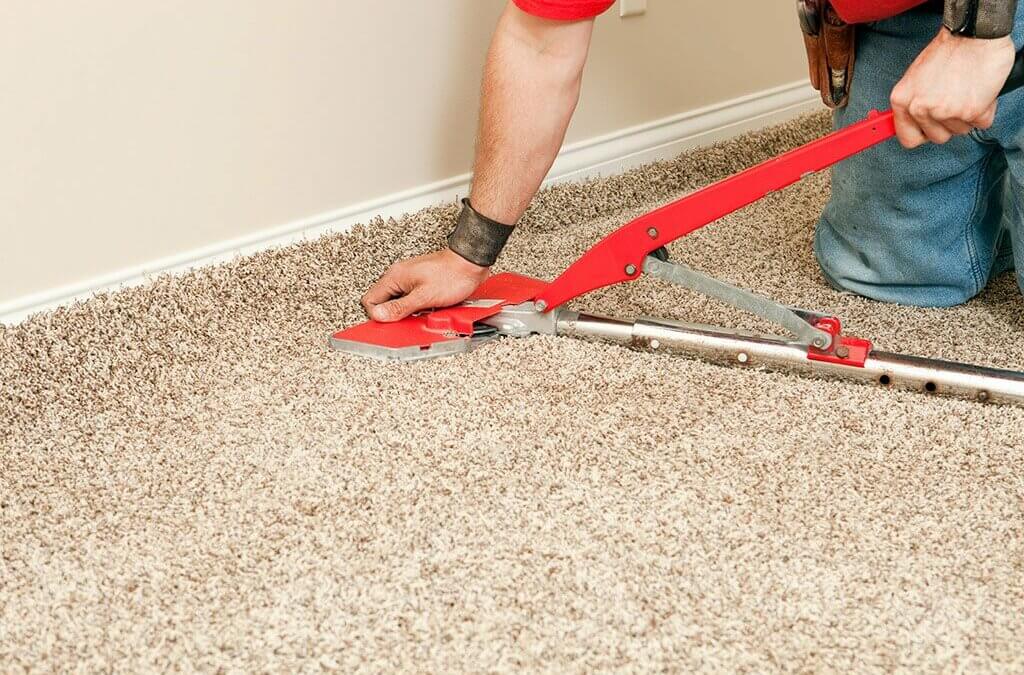
To make your Carpet Installation a success, you’ll need to have the right tools on hand. These include a carpet knife, knee kicker, power stretcher, seam iron, and tucking tool. You’ll also need a chalk line, measuring tape, and a utility knife.
Prepare the room
Before you start any Carpet Installation, it’s essential to remove any existing flooring and prepare the room for the new carpet. This includes removing baseboards and door jambs, and smoothing out any uneven surfaces.
Lay the underlayment
Once the room is prepared, it’s time to lay the underlayment. This layer is crucial to the overall comfort and longevity of your carpet, so be sure to choose the right underlayment for your room and floor type.
Cut and lay the carpet
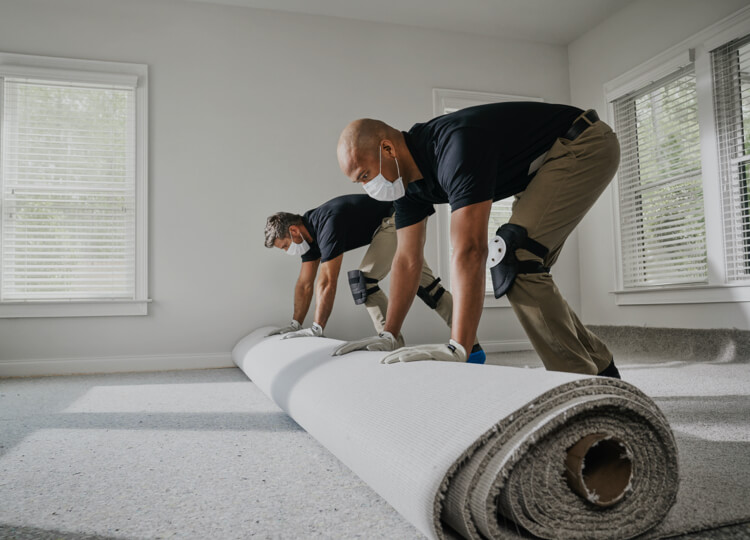
Once the underlayment is in place, it’s time to cut and lay the carpet. Start by unrolling the carpet in the center of the room and work your way towards the walls. Be sure to smooth out any wrinkles and use a carpet knife to trim the carpet to size.
Seam the carpet
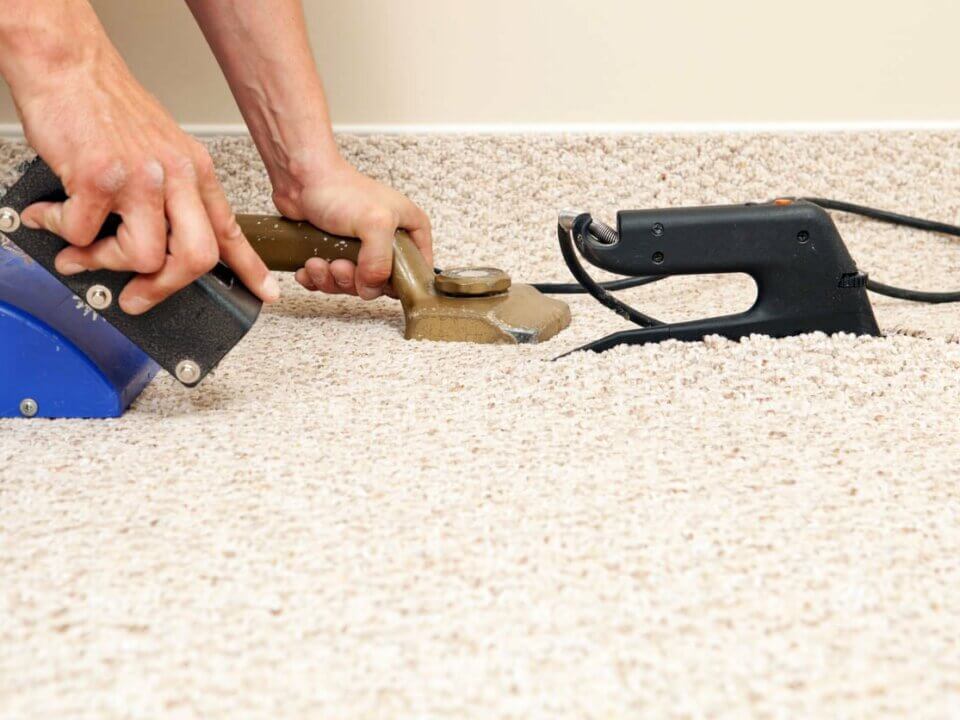
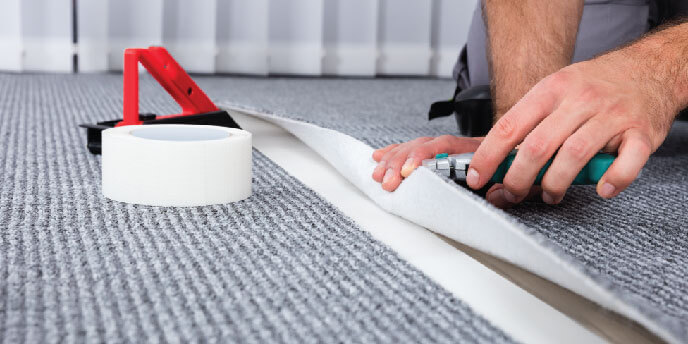
If you’re installing carpet in a large room, you’ll need to seam two or more pieces of carpet together. To do this, overlap the two pieces and use a seam iron to heat-seal the seam. Then, use a carpet tape to secure the seam and smooth it down with a tucking tool.
Stretch the carpet
Once the carpet is laid and seams are in place, it’s time to stretch the carpet. This involves pulling the carpet tight and securing it to the tack strips along the wall. Use a knee kicker and power stretcher to stretch the carpet, and be sure to avoid over-stretching, which can cause the carpet to buckle.
Trim the excess carpet
Once the carpet is stretched, use a utility knife to trim the excess carpet along the walls. Be sure to leave enough carpet to tuck under the baseboards and door jambs, and use a carpet knife to make any final adjustments.
Install the transition strips
Finally, it’s time to install the transition strips along doorways and thresholds. These strips will help hide the seams between the carpet and other flooring types and prevent tripping hazards.
Vacuum and enjoy your new carpet
Once the Carpet Installation is complete, it’s time to vacuum and enjoy your new carpet. Regular vacuuming and maintenance will help keep your carpet looking and feeling great for years to come.
Carpet Installation is a major investment, and it’s essential to understand the basics and have the right tools and techniques to ensure a successful installation. By following these tips and tricks, you’ll be able to install your carpet with confidence and enjoy a comfortable and stylish floor for years to come.
The Different Methods of Carpet Installation and Which One is Right for You


